


")
")


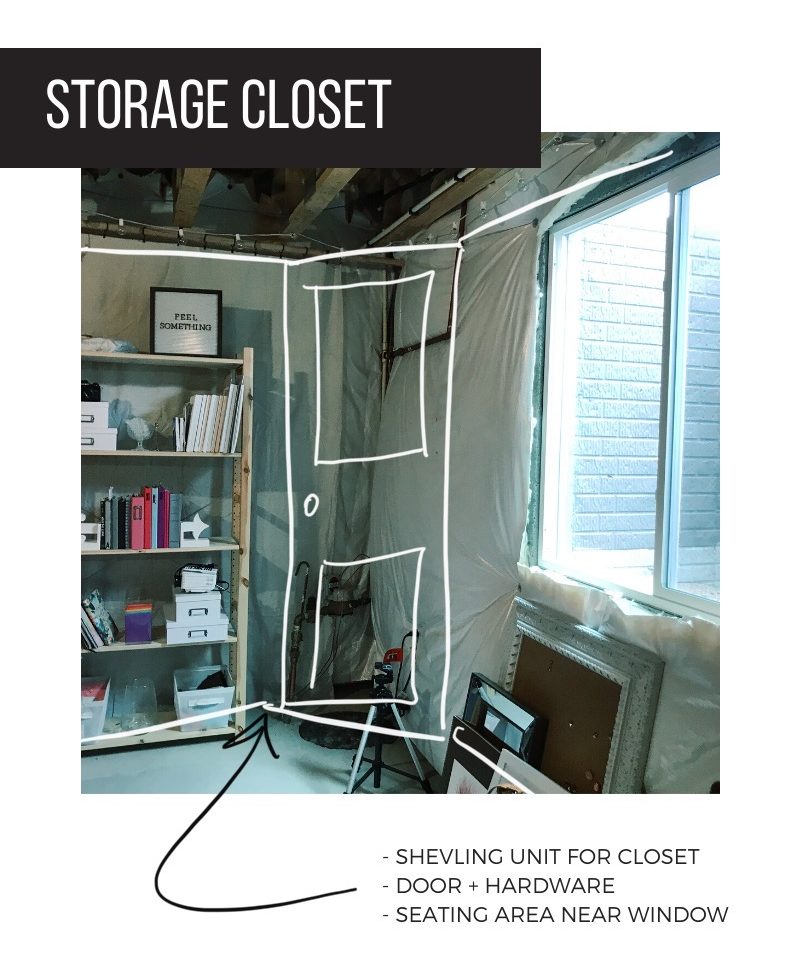
Before I get too far in the basement studio process (I’ve been moving so fast I’ve forgotten to document parts, ugh!), I wanted to show you the basement studio in it’s “before” state. This portion of the house was intended to be unfinished storage space but when we began our build I knew it had potential. I had our builder install an additional window in the room knowing I would eventually turn it into my studio. But what I had originally envisioned for the studio and where it is now is night and day! But I’m thrilled! I was originally going to keep it unfinished with the exposed concrete, but after really thinking about long term and how I wanted to use the space, finishing it seemed like the most realistic option. It’s 305 square feet total. Honestly, a lot bigger than I ever dreamed I would have!
There’s still a lot to do before I can really work in here — so I’m working hard trying to get stuff done before the new year! My goal is to have my big reveal in January 2020! Stay tuned!

So here is a breakdown of my process. This just skims the surface so more intensive details coming soon.
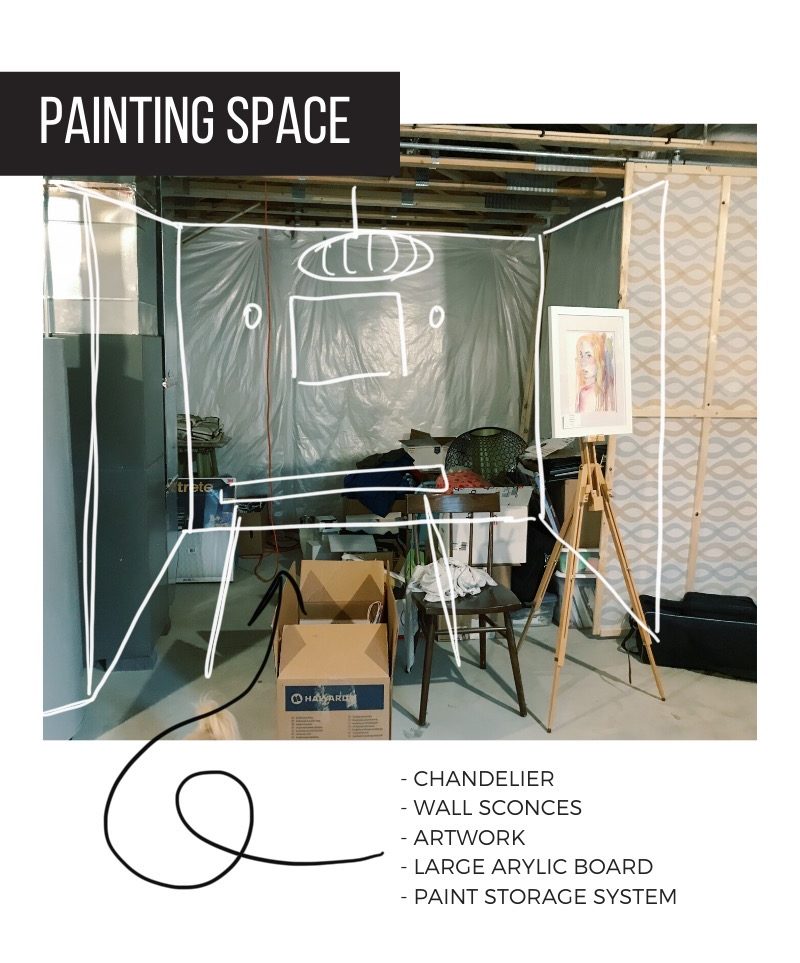
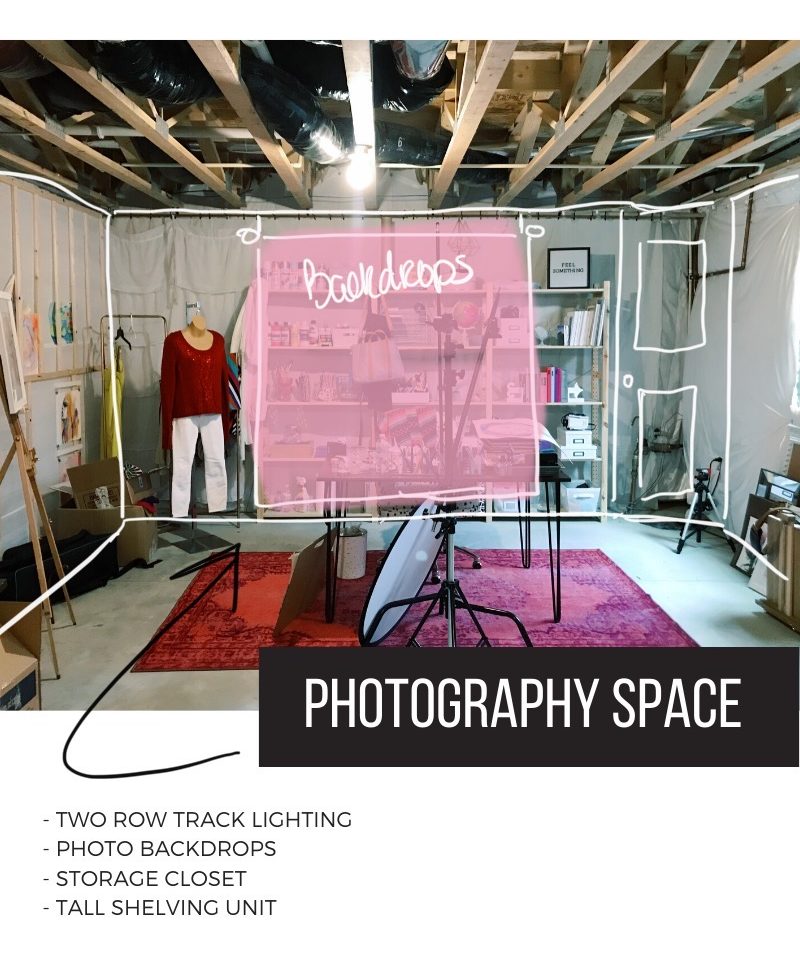
Creating Zones
I needed a few different work areas : painting table, photo backdrop, sink/cabinetry and storage. To achieve this, I decided to add my sink and cabinetry on the opposite side of the wall from where the bathroom would eventually be. I devoted the left side of the space for my work station, and the larger are for my photo backdrops and lighting. This is where I’ll do headshots and product/commercial shoots. I’ll have space along the window wall so I’m thinking I want to create a small sitting area for clients.
Framing + Electrical + Plumbing + Drywall
Thankfully the whole space was already insulated, so the first step in the process was to clear the area and prep to frame. My Father-in-Law renovates basements frequently so he took on this part of the construction for me. And since I have a lot of skilled friends, I was able to hire them on to take care of my electrical, plumbing and drywall. I didn’t DIY any of this since I wanted to make sure it was done correctly.
Flooring
After drywall, I’ll work on the flooring. Here’s where the DIY projects will start. I really want a light floor and the concrete seems to be the best option for how I’ll use the space. I researched all kinds of inexpensive flooring options and every time I can back to doing a concrete dye. So that’s my plan!
Lighting
I have one egress window on the right side of the room, so I want to add the appearance of additional natural lighting. The window was installed near the main area of the room which is where I’ll be shooting photos. I also plan to add mirrors adjacent to the window to help reflect the natural light. I have multiple areas where I’ll install my lighting. The hallway, my office space (chandelier + sconces), tracking lighting, as well as, canned lights above the sink. The lights will all be coolers in tone to accommodate my photoshoots.
Sink Area
Since the space will double as a space for me to paint, I wanted a sink area that was separate from our bathroom and kitchen. Carrying dirty paint brushes and cups around the house wasn’t a good idea. So I knew I wanted the space plumbed for a sink. The cabinets will be modern and white with gold hardware and above will be open shelving. This will keep me organized as well.

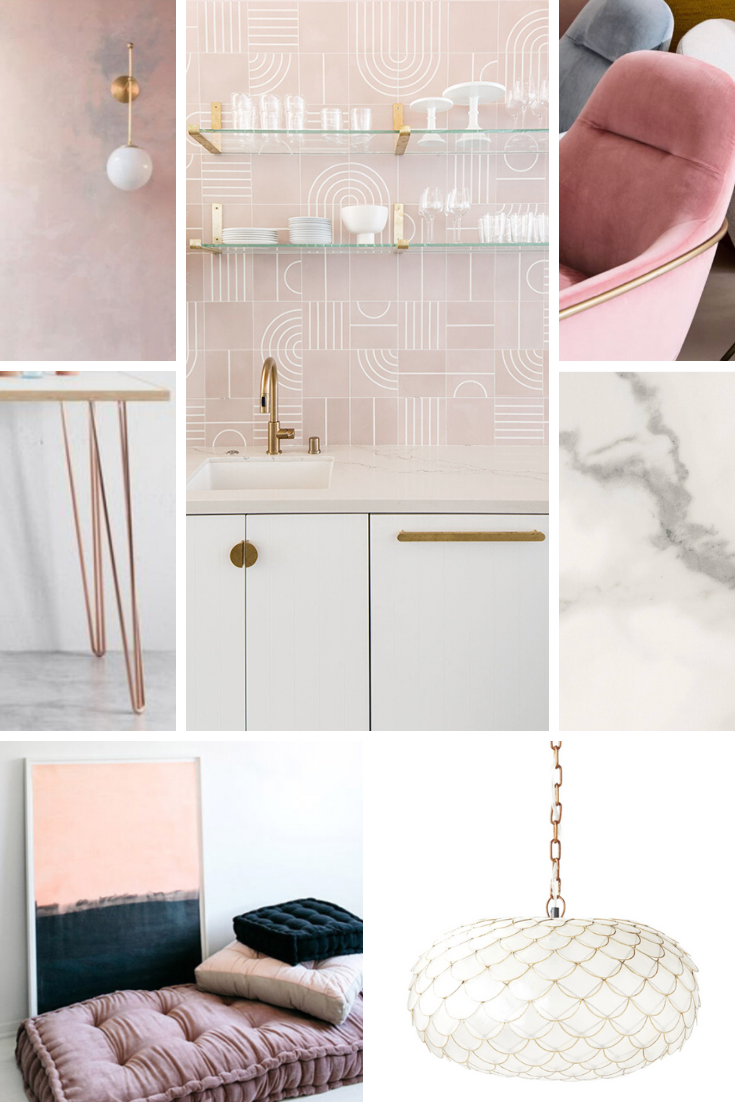
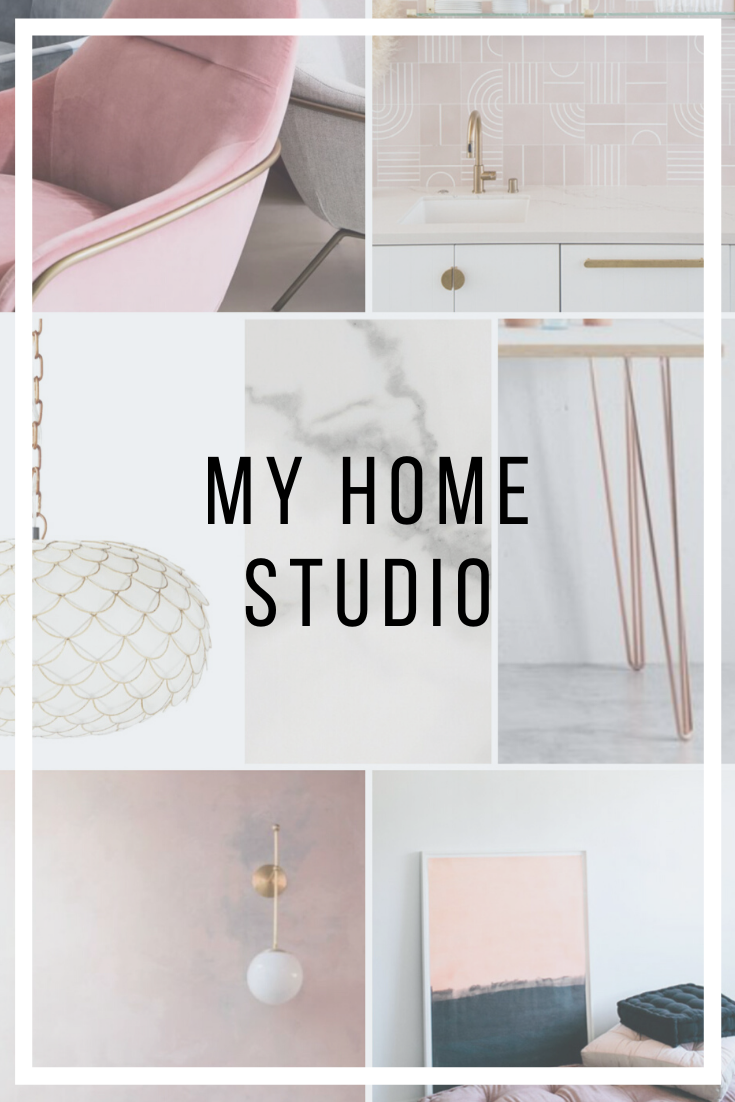
Style
My style is very midcentury modern glam and I want the space to be a direct reflection of that. It will be mostly white with midcentury glam pieces throughout. I’ll link and share the exact items in a future post.
So this is the plan — I hope to reveal the updated version asap. Have you ever finished a storage area or created a basement studio? If so, I’d love some advice!
Leave a Reply
Recent Posts on the Blog

Be the first to comment